ssh-keygen -t ed25519 -C "root@[IP-REDACTED]" -f ~/.ssh/vps_root
ssh-keygen -t ed25519 -C "dev@[IP-REDACTED]" -f ~/.ssh/vps_dev
ssh-copy-id -i ~/.ssh/vps_root.pub root@[IP-REDACTED]
ssh-copy-id -i ~/.ssh/vps_dev.pub dev@[IP-REDACTED]cat /home/dev/.ssh/authorized_keys
# KEYS
cat ~/.ssh/authorized_keys
# KEYS# Update system
apt update && apt upgrade -y
# Install tools dasar
apt install -y curl wget git vim htop ufw fail2ban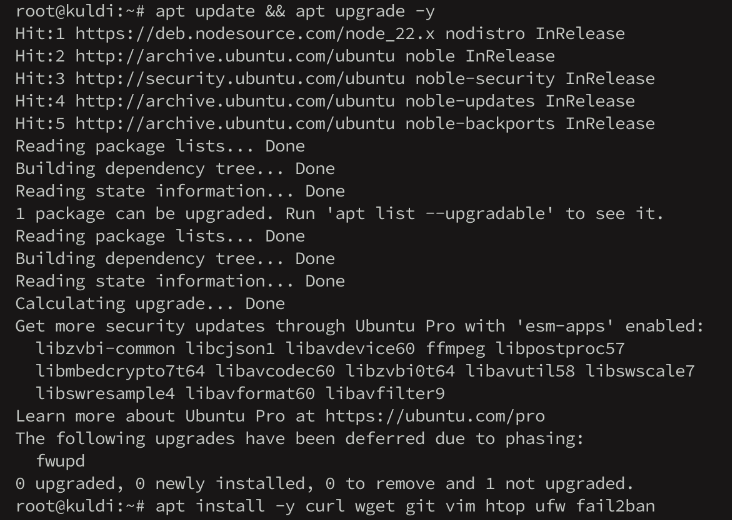
# Buat direktori SSH
mkdir -p /root/.ssh
chmod 700 /root/.ssh

# Buat authorized_keys (nanti isi key kamu)
touch /root/.ssh/authorized_keys
chmod 600 /root/.ssh/authorized_keys

# Edit SSH config — disable password auth
nano /etc/ssh/sshd_config
sudo nano /etc/ssh/sshd_config
# === SSH Hardening ===
Port 22
AddressFamily any
ListenAddress 0.0.0.0
ListenAddress ::
HostKey /etc/ssh/ssh_host_ed25519_key
HostKey /etc/ssh/ssh_host_rsa_key
# Authentication
PermitRootLogin prohibit-password
PasswordAuthentication no
PubkeyAuthentication yes
ChallengeResponseAuthentication no
UsePAM yes
AuthenticationMethods publickey
# Security
X11Forwarding no
AllowTcpForwarding yes
PermitTunnel no
PrintMotd no
PrintLastLog yes
# Session
ClientAliveInterval 300
ClientAliveCountMax 2
LoginGraceTime 60
MaxAuthTries 3
MaxSessions 10
# Environment
AcceptEnv LANG LC_*
Subsystem sftp /usr/lib/openssh/sftp-server
# Install Lynis
apt install -y lynis

# Run audit (butuh ~5-10 menit)
sudo lynis audit system
RESULT
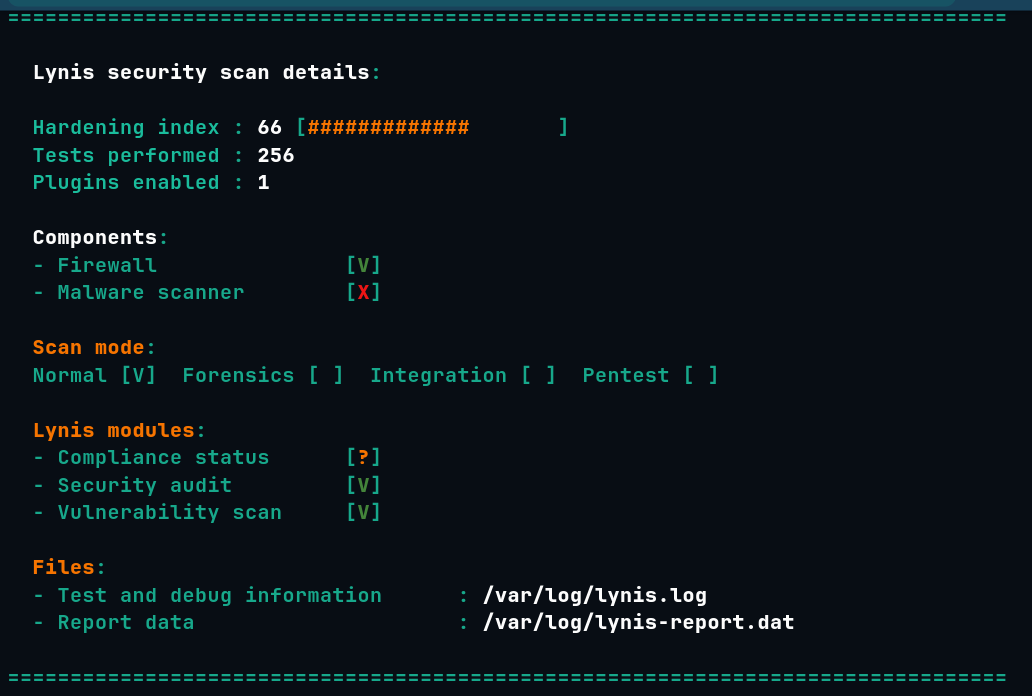
Hardening Tahap 2
sudo nano /etc/ssh/sshd_configAllowTcpForwarding no
LogLevel VERBOSE
MaxSessions 2
# Port 2222 # opsional: ganti port SSH
TCPKeepAlive no
AllowAgentForwarding nosudo sshd -t
sudo systemctl restart sshsudo apt install -y rkhunter chkrootkit
# Update & scan
sudo rkhunter --update
sudo rkhunter --check --sk
sudo chkrootkitsudo apt install -y aide
# Init database Kadang gagal aku juga skip di beberapa vps
sudo aideinit
sudo mv /var/lib/aide/aide.db.new /var/lib/aide/aide.db
# Check (nanti)
sudo aide --checksudo nano /etc/sysctl.conf
# IP Spoofing protection
net.ipv4.conf.all.rp_filter = 1
net.ipv4.conf.default.rp_filter = 1
# Ignore ICMP redirects
net.ipv4.conf.all.accept_redirects = 0
net.ipv6.conf.all.accept_redirects = 0
# Ignore source routed packets
net.ipv4.conf.all.accept_source_route = 0
net.ipv6.conf.all.accept_source_route = 0
# Log martian packets
net.ipv4.conf.all.log_martians = 1
# Disable IPv6 if not used (opsional)
# net.ipv6.conf.all.disable_ipv6 = 1
verification
sudo sysctl -p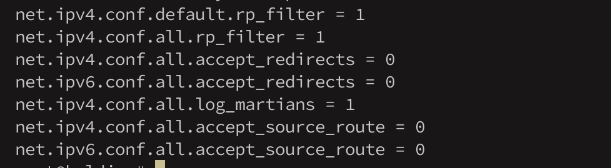
Unused Protocols
# Cek dulu
lsmod | grep -E "dccp|sctp|rds|tipc" # <--sudah aman gak ada

# Disable (kalau gak dipake)
sudo modprobe -r dccp
sudo modprobe -r sctp
sudo modprobe -r rds
sudo modprobe -r tipc

# Blacklist
echo "install dccp /bin/true" | sudo tee -a /etc/modprobe.d/disable-protocols.conf
echo "install sctp /bin/true" | sudo tee -a /etc/modprobe.d/disable-protocols.conf
echo "install rds /bin/true" | sudo tee -a /etc/modprobe.d/disable-protocols.conf
echo "install tipc /bin/true" | sudo tee -a /etc/modprobe.d/disable-protocols.conf
7. Password Policy
sudo nano /etc/login.defsUbah:
PASS_MAX_DAYS   90
PASS_MIN_DAYS   7
PASS_MIN_LEN    12
PASS_WARN_AGE   7
sudo nano /etc/security/pwquality.confTambah:
minlen = 12
minclass = 3
maxrepeat = 2
8. Core Dump Disable
sudo nano /etc/security/limits.confTambah:
* hard core 0Cek Ulang Lynis
sudo lynis audit system
RESULT
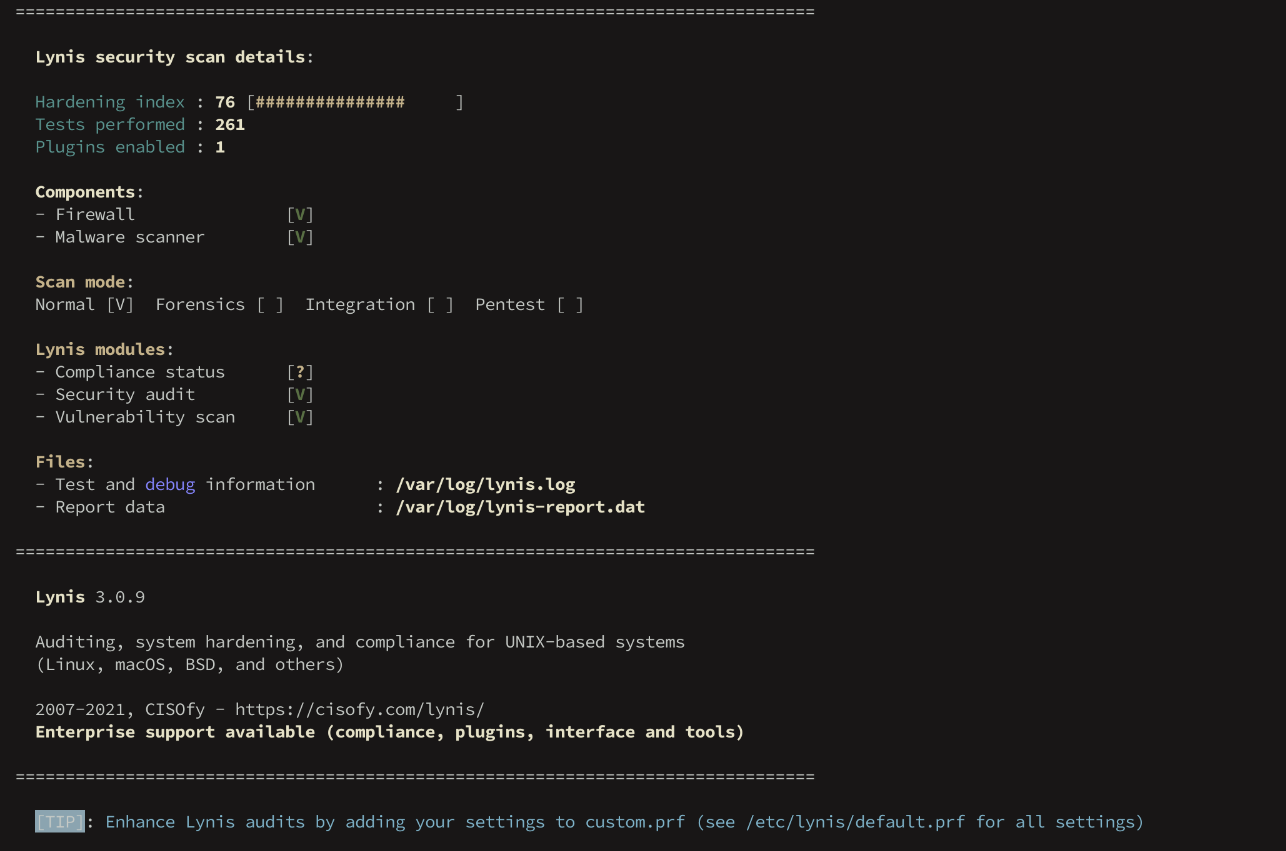
Install Stack (Host)
# 1. Podman
sudo apt install -y podman podman-compose

# 2. Nginx
sudo apt install -y nginx
sudo systemctl enable nginx
sudo systemctl start nginx

# 3. PostGIS (PostgreSQL + PostGIS)
sudo apt install -y postgresql postgresql-contrib postgis

# 4. Redis
sudo apt install -y redis-server
sudo systemctl enable redis-server
sudo systemctl start redis-server
Install Bun (Host)
# Install Bun
curl -fsSL https://bun.sh/install | bash

# Reload shell
source ~/.bashrc

# Cek
bun --version
which bun
Bun auto-install ke ~/.bun/bin/, tambahin ke PATH kalau belum:
echo 'export PATH="$HOME/.bun/bin:$PATH"' >> ~/.bashrc
source ~/.bashrc
Verifikasi Semua
echo "=== Podman ===" && podman --version
echo "=== Nginx ===" && nginx -v && sudo systemctl is-active nginx
echo "=== PostgreSQL ===" && psql --version && sudo systemctl is-active postgresql
echo "=== PostGIS ===" && sudo -u postgres psql -c "SELECT PostGIS_Version();" 2>/dev/null || echo "PostGIS: run CREATE EXTENSION dulu"
echo "=== Redis ===" && redis-cli ping && sudo systemctl is-active redis-server
echo "=== Bun ===" && bun --version
Nginx Proxy Manager (NPM) via Web
NPM = Nginx Proxy Manager, bukan npm package manager. Ini tool web UI buat manage reverse proxy.
Install NPM via Podman
# Buat volume persistent
podman volume create npm-data

# Run NPM container
podman run -d \
  --name nginx-proxy-manager \
  --restart unless-stopped \
  -p 80:80 \
  -p 443:443 \
  -p 81:81 \
  -v npm-data:/data \
  docker.io/jc21/nginx-proxy-manager:latest

# Cek jalan
podman ps
FIX PROBLEM
# 1. Hapus container yang crash
podman rm -f npm

# 2. Buat volume untuk letsencrypt
podman volume create npm-letsencrypt

# 3. Re-run dengan volume tambahan
podman run -d \
  --name npm \
  --replace \
  --restart unless-stopped \
  -p 80:80 \
  -p 443:443 \
  -p 81:81 \
  -v npm-data:/data \
  -v npm-letsencrypt:/etc/letsencrypt \
  docker.io/jc21/nginx-proxy-manager:latest
Akses Web UI
Table
| URL | Fungsi |
|---|---|
http://[IP-REDACTED]:81 | NPM Admin Panel |
http://[IP-REDACTED]:80 | Proxy HTTP |
https://[IP-REDACTED]:443 | Proxy HTTPS |
Login Default
-
Email:
admin@example.com# Sudah DIganti -
Password:
changeme# Sudah Di ganti
UFW UNTUK NPM
sudo ufw allow 81/tcp comment 'NPM Admin Panel'
sudo ufw allow 80/tcp comment 'NPM HTTP'
sudo ufw allow 443/tcp comment 'NPM HTTPS'
sudo ufw status verbose
Alur Reverse Proxy
User → Domain → [IP-REDACTED]:80/443 → NPM → Proxy ke:
                                          ├── localhost:3000 (app1)
                                          ├── localhost:5000 (app2)
                                          └── 10.88.0.x:port (container)